


An illuminated bathroom mirror is one of the most hardworking surfaces in your home. It faces steam, splashes, fingerprints, and condensation every single day. A little regular care will keep it performing and looking its best for years — and, given most of these mirrors are covered by a 10-year guarantee, it is worth understanding what voids that coverage and what does not.
This guide covers cleaning, frame care, protecting electrical components, and a few habits that make a genuine difference over time.
What you need
You do not need specialist products. For most cleaning tasks, you need only:
- Two soft microfibre cloths (one damp, one dry)
- Warm water
- For stubborn water marks: white vinegar diluted 1:1 with water, applied to the cloth — not the mirror
That is it. Most of the damage done to bathroom mirrors comes from using the wrong product, not from the absence of the right one.
Cleaning the mirror glass
The most common mistake is spraying cleaning product directly onto the mirror. Liquid running into the seal around the edge of the glass can work its way behind the mirror over time, causing the silver backing to deteriorate — a process that looks like dark patches or clouding around the edges of the mirror glass. Once it starts, it cannot be reversed.
The correct approach: spray your cleaning product onto the cloth, then wipe. Use circular motions across the mirror face, then buff dry with the second clean cloth before any streaks form. This takes about 30 seconds and leaves a noticeably better result than wiping and letting it air dry.
For hard water marks — the white or chalky deposits left by mineral-rich water — a 1:1 dilution of white vinegar and water works well. Apply to a cloth, wipe in gentle circular motions, then rinse the area with a clean damp cloth and dry immediately. Do not leave vinegar solution sitting on the glass for extended periods.
What to avoid on the glass: bleach-based cleaners, abrasive cloths or scourers, ammonia-based window sprays (these can damage the mirror backing over time), and acetone or solvent-based removers.
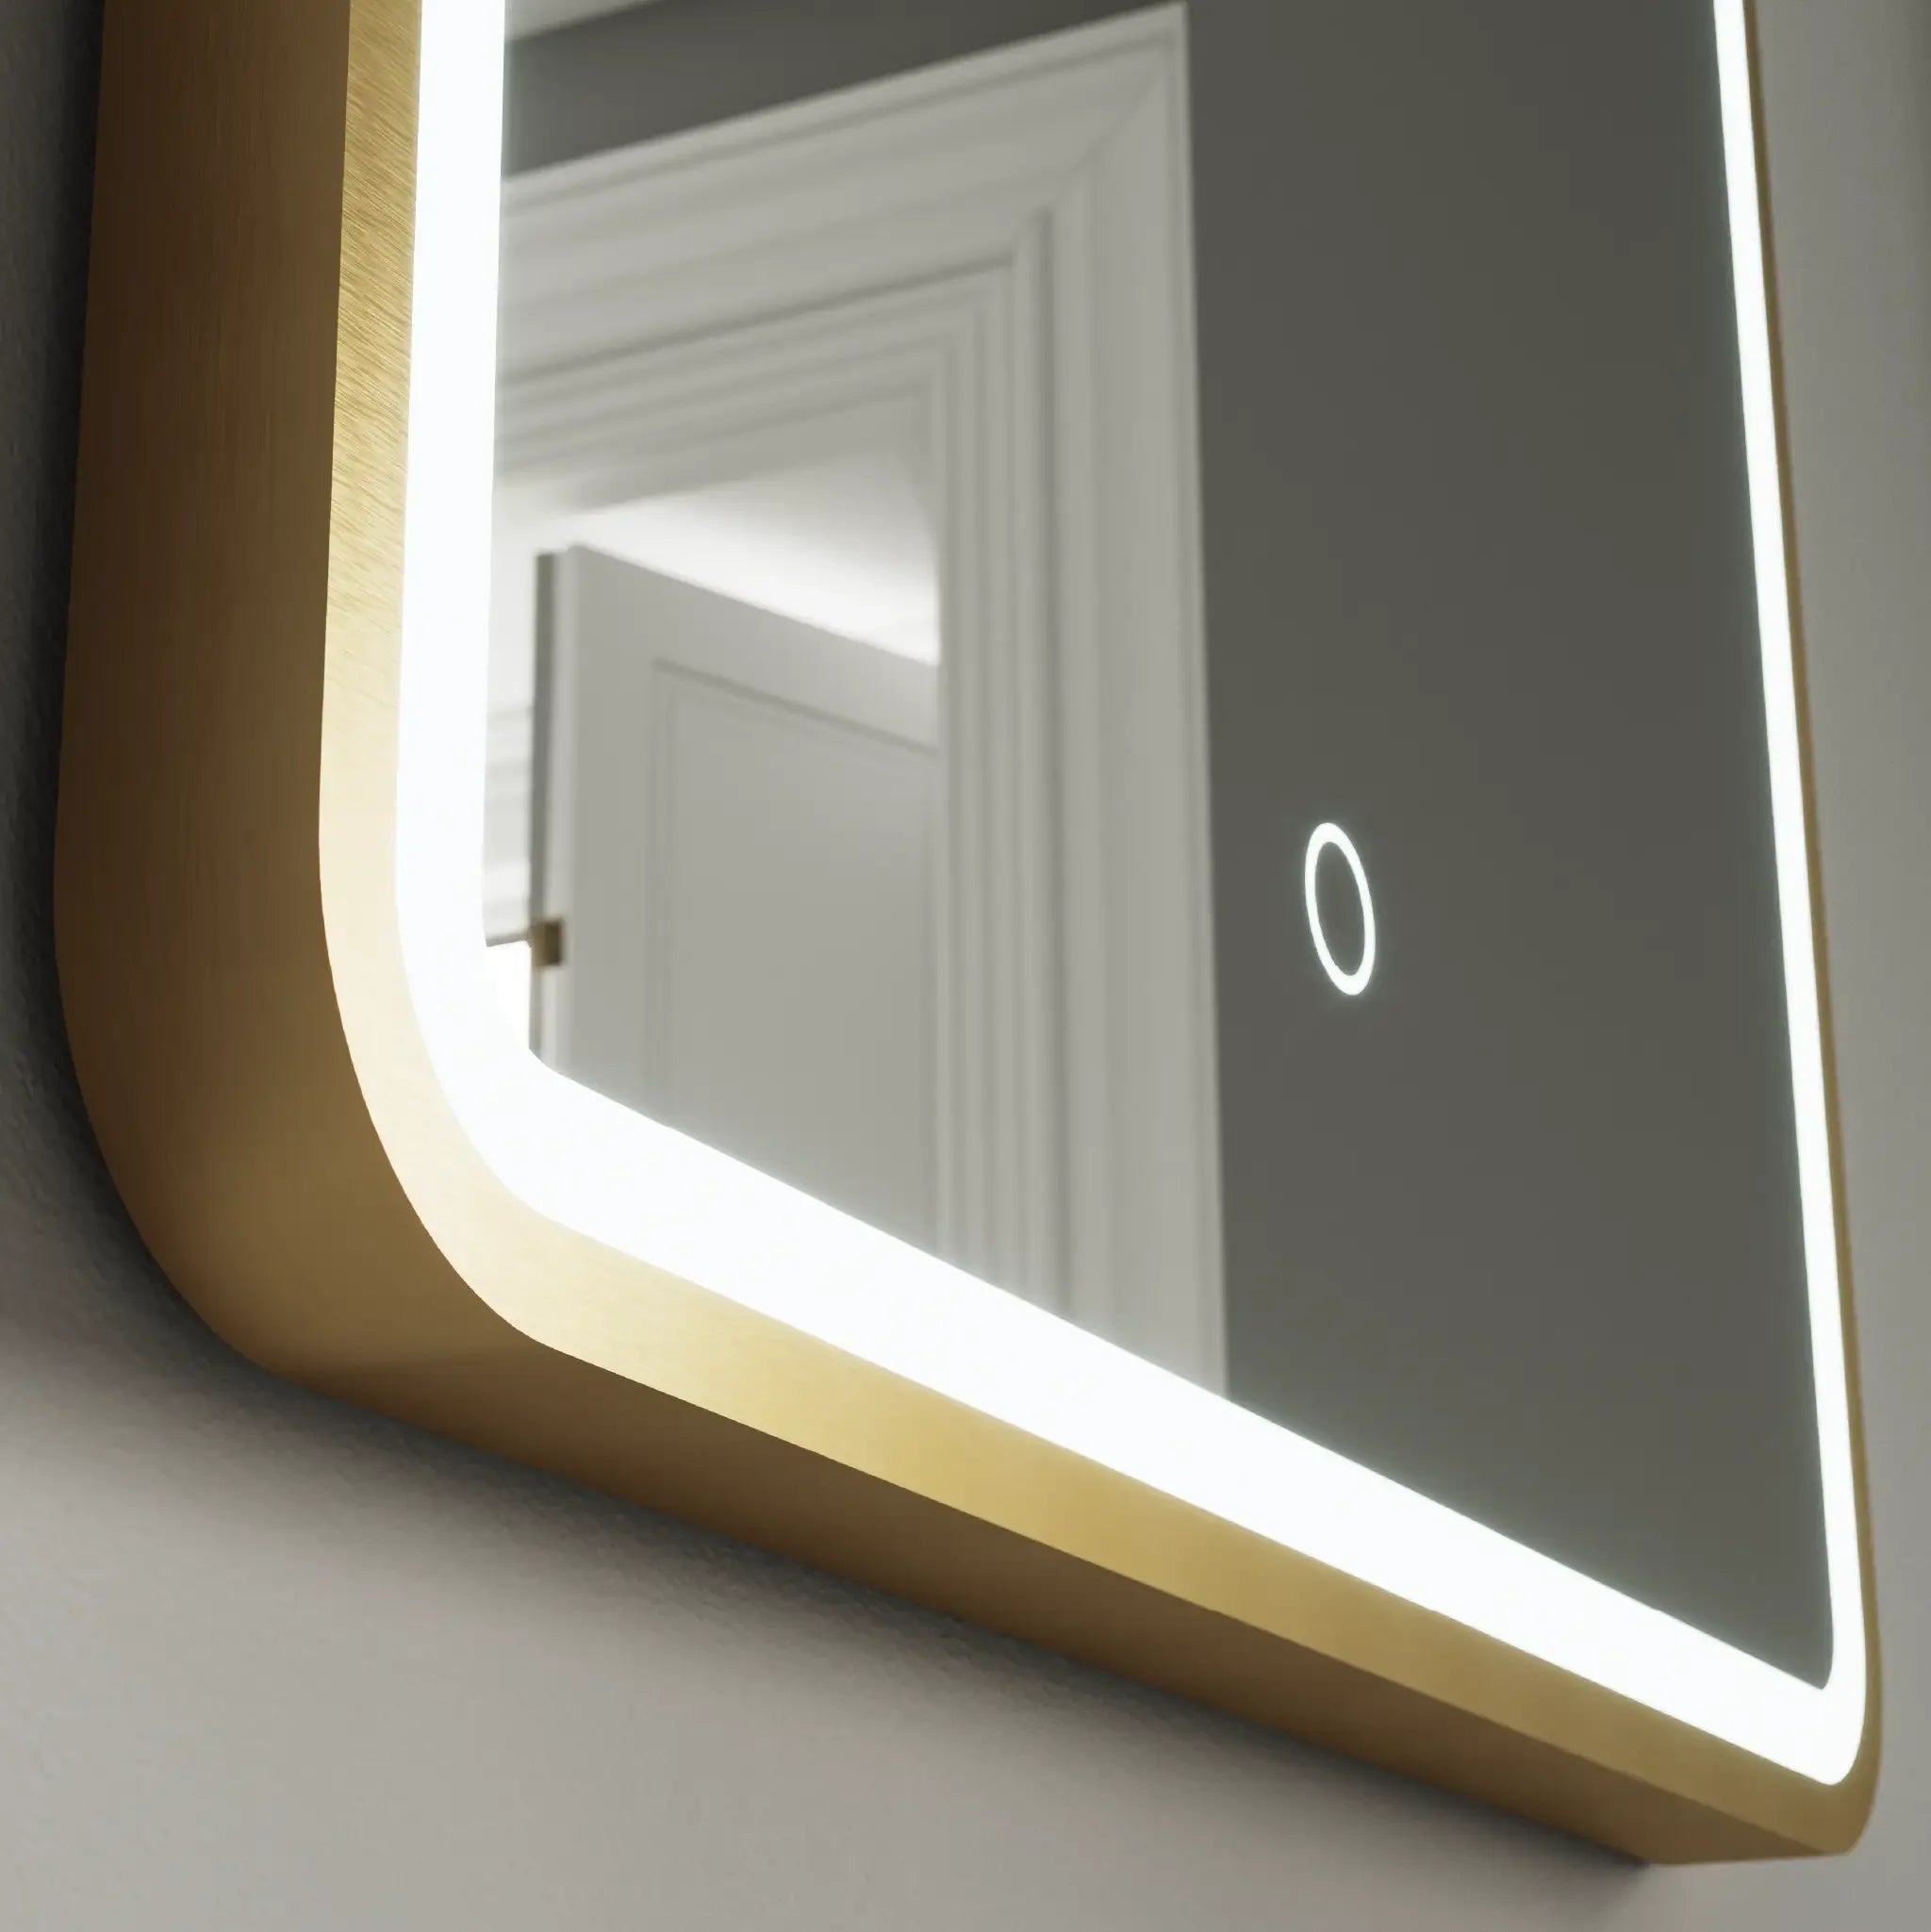
Cleaning around sensors and electrical components
The touch sensor, motion sensor, shaver socket rocker switch, and any control panel should be treated as electrical components — because they are.
Use a dry cloth only around these areas. If you need to clean more thoroughly, use a very lightly damp cloth (wrung out until almost dry) and wipe gently. Never spray anything directly at or near sensors or sockets. If water enters the sensor housing, it can cause intermittent activation, no response, or permanent fault.
After cleaning the mirror face, make a habit of running a dry cloth over the sensor and socket area as a final step.
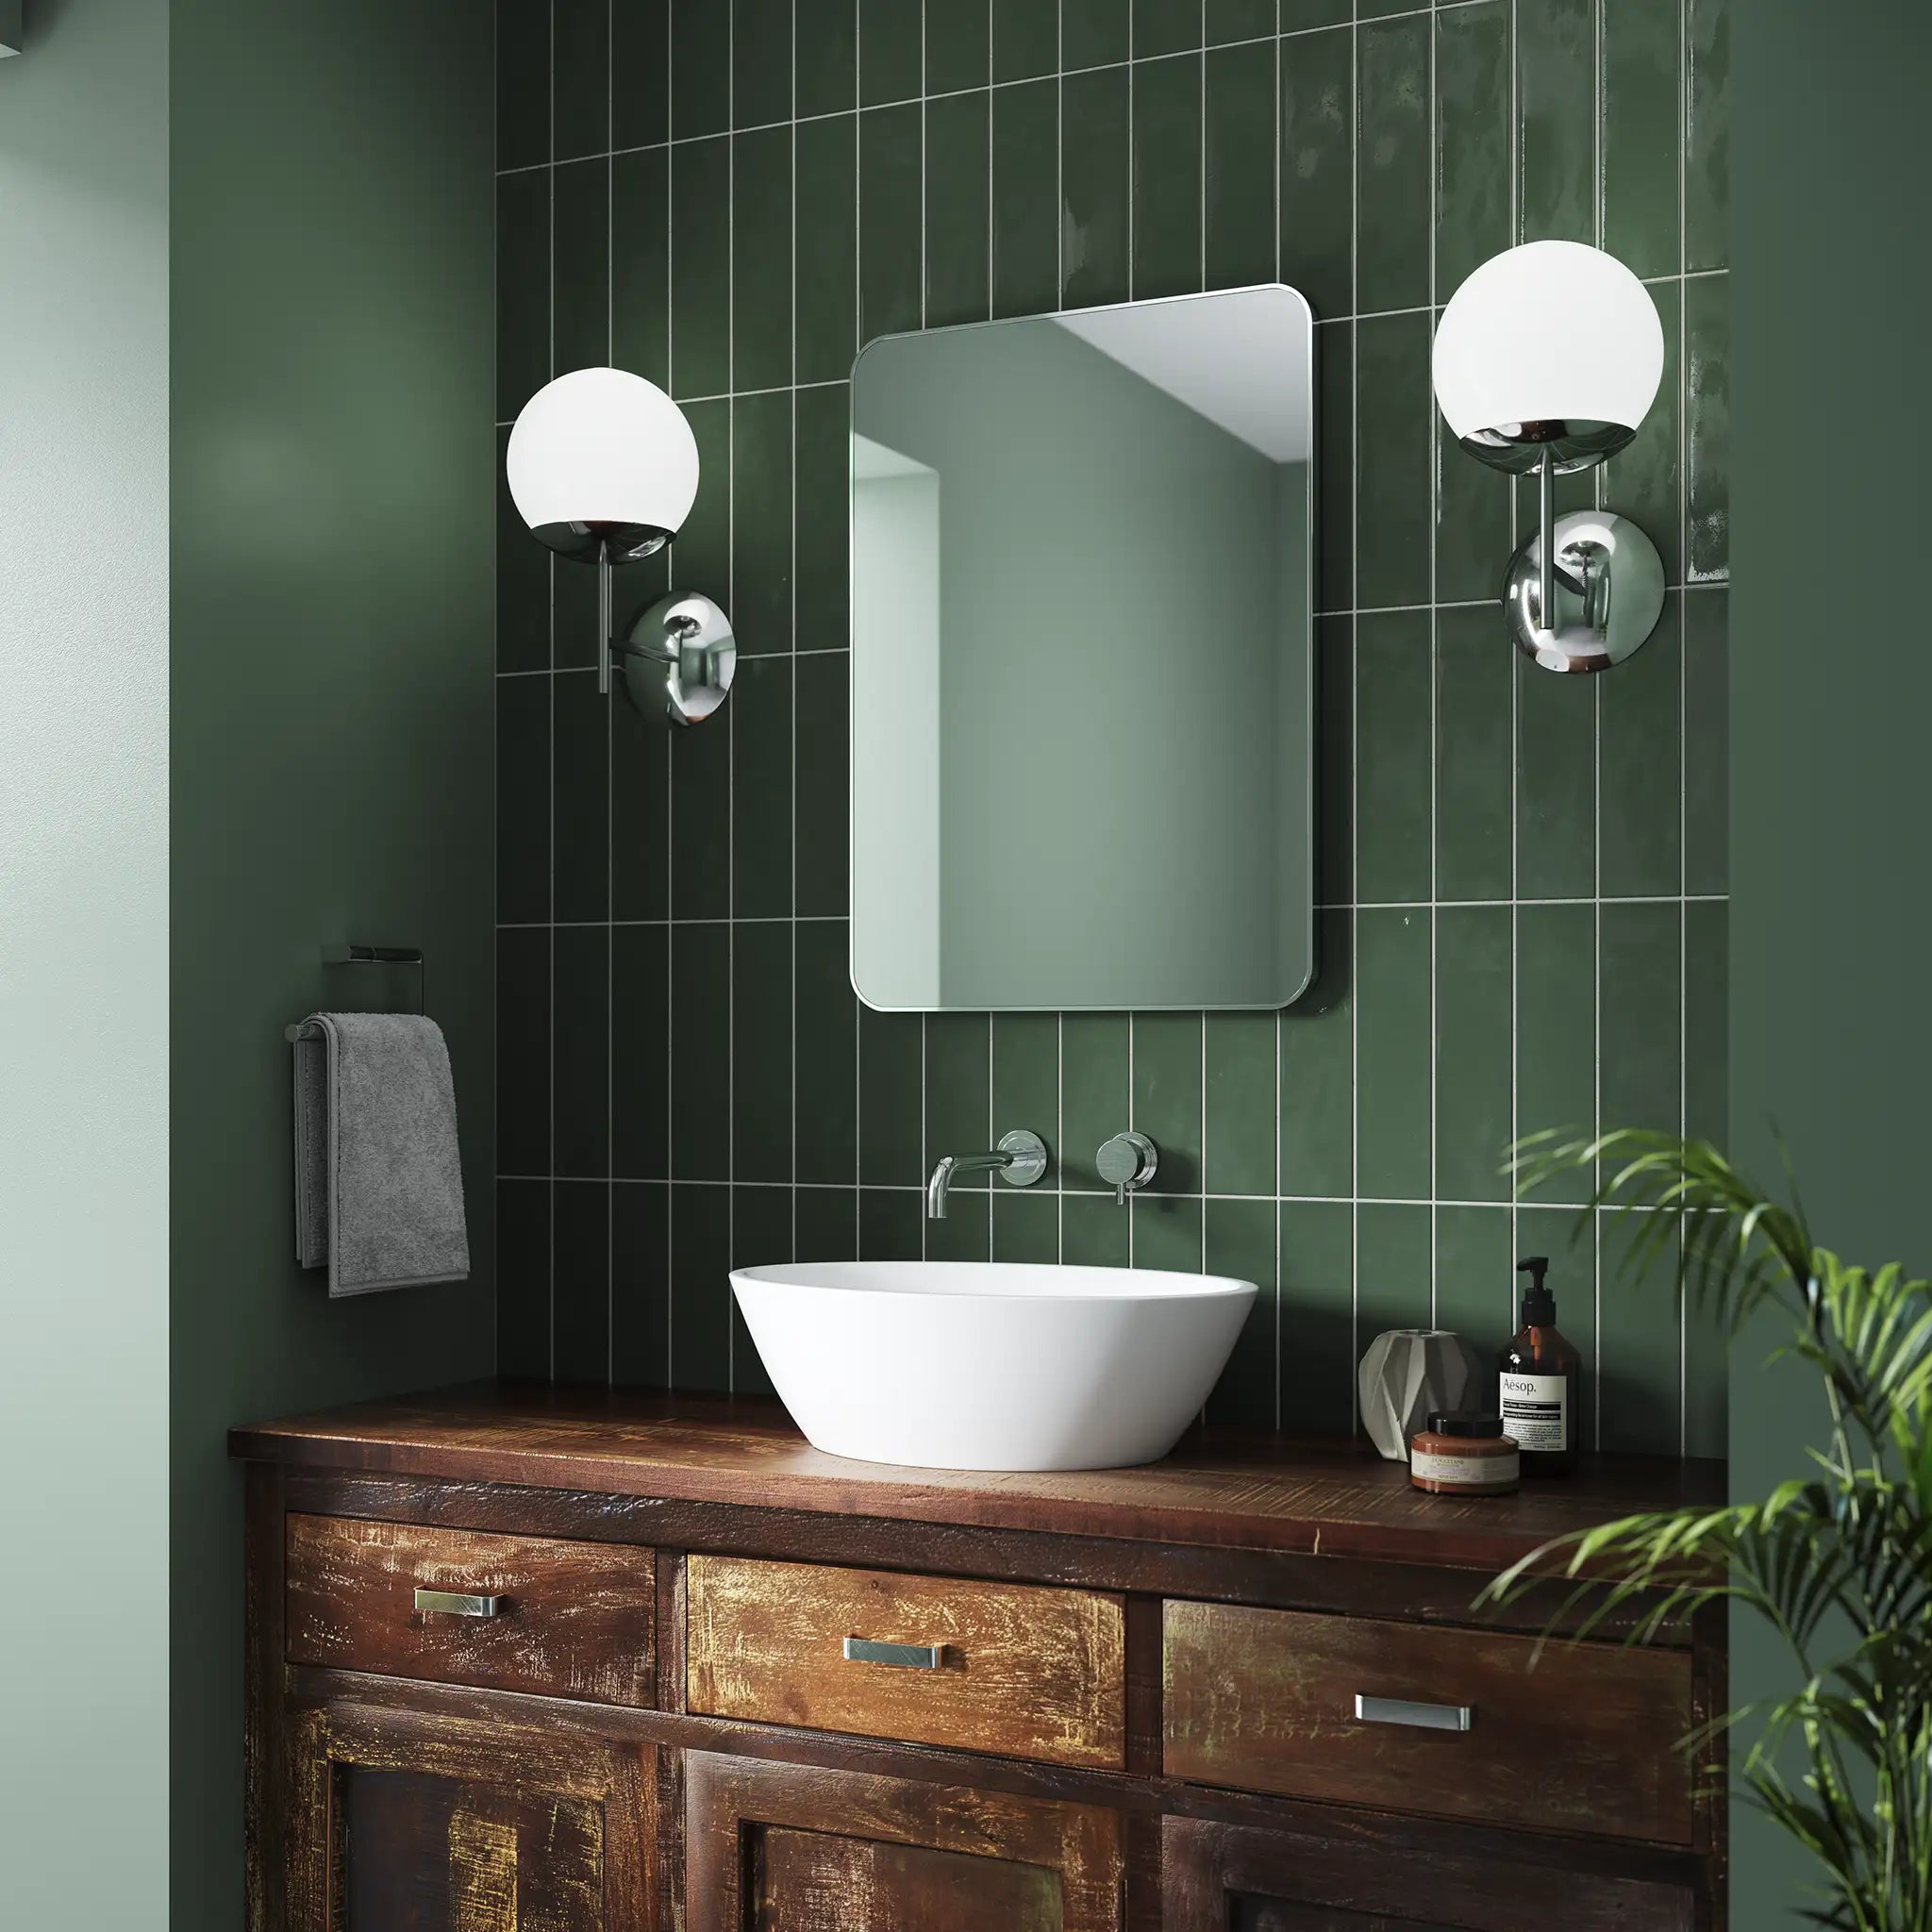
Caring for the frame finish
Different frame finishes have different needs. Using the wrong cleaner can damage the finish permanently.
Brushed brass and brushed nickel: dry cloth only for regular cleaning. These warm metallic finishes are lacquered — acidic cleaners including white vinegar and lemon-based products will dull or damage the lacquer. If a mark will not come off with a dry cloth, use a barely damp microfibre cloth and dry immediately. Never use chrome or metal polish on brushed finishes.
Chrome: a lightly damp microfibre cloth works well. Dry thoroughly after cleaning to prevent water marks — chrome shows every droplet. A dry buff after cleaning gives the best result. Avoid abrasive cloths.
Matt black: dry cloth for dust and light cleaning. For fingermarks, a very lightly damp cloth works, followed immediately by a dry buff. Matt finishes are more susceptible to showing smear marks if wiped when too wet. Avoid any polish or wax-based product.
White and gloss finishes: a lightly damp cloth, dried off quickly. These surfaces show marks easily but clean up well. Avoid abrasive cleaners.
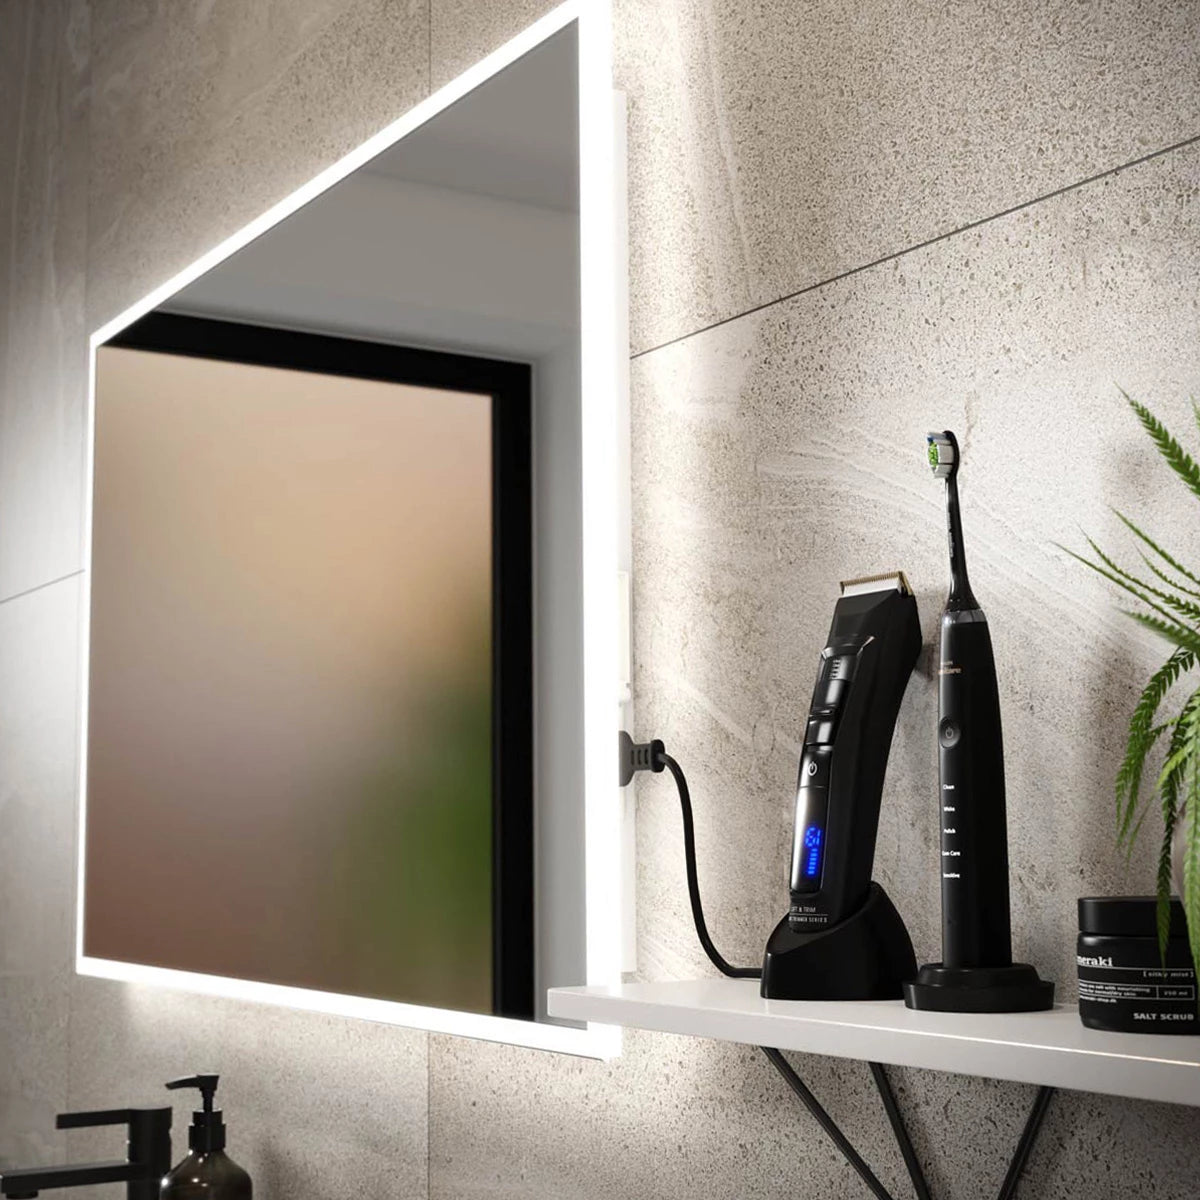
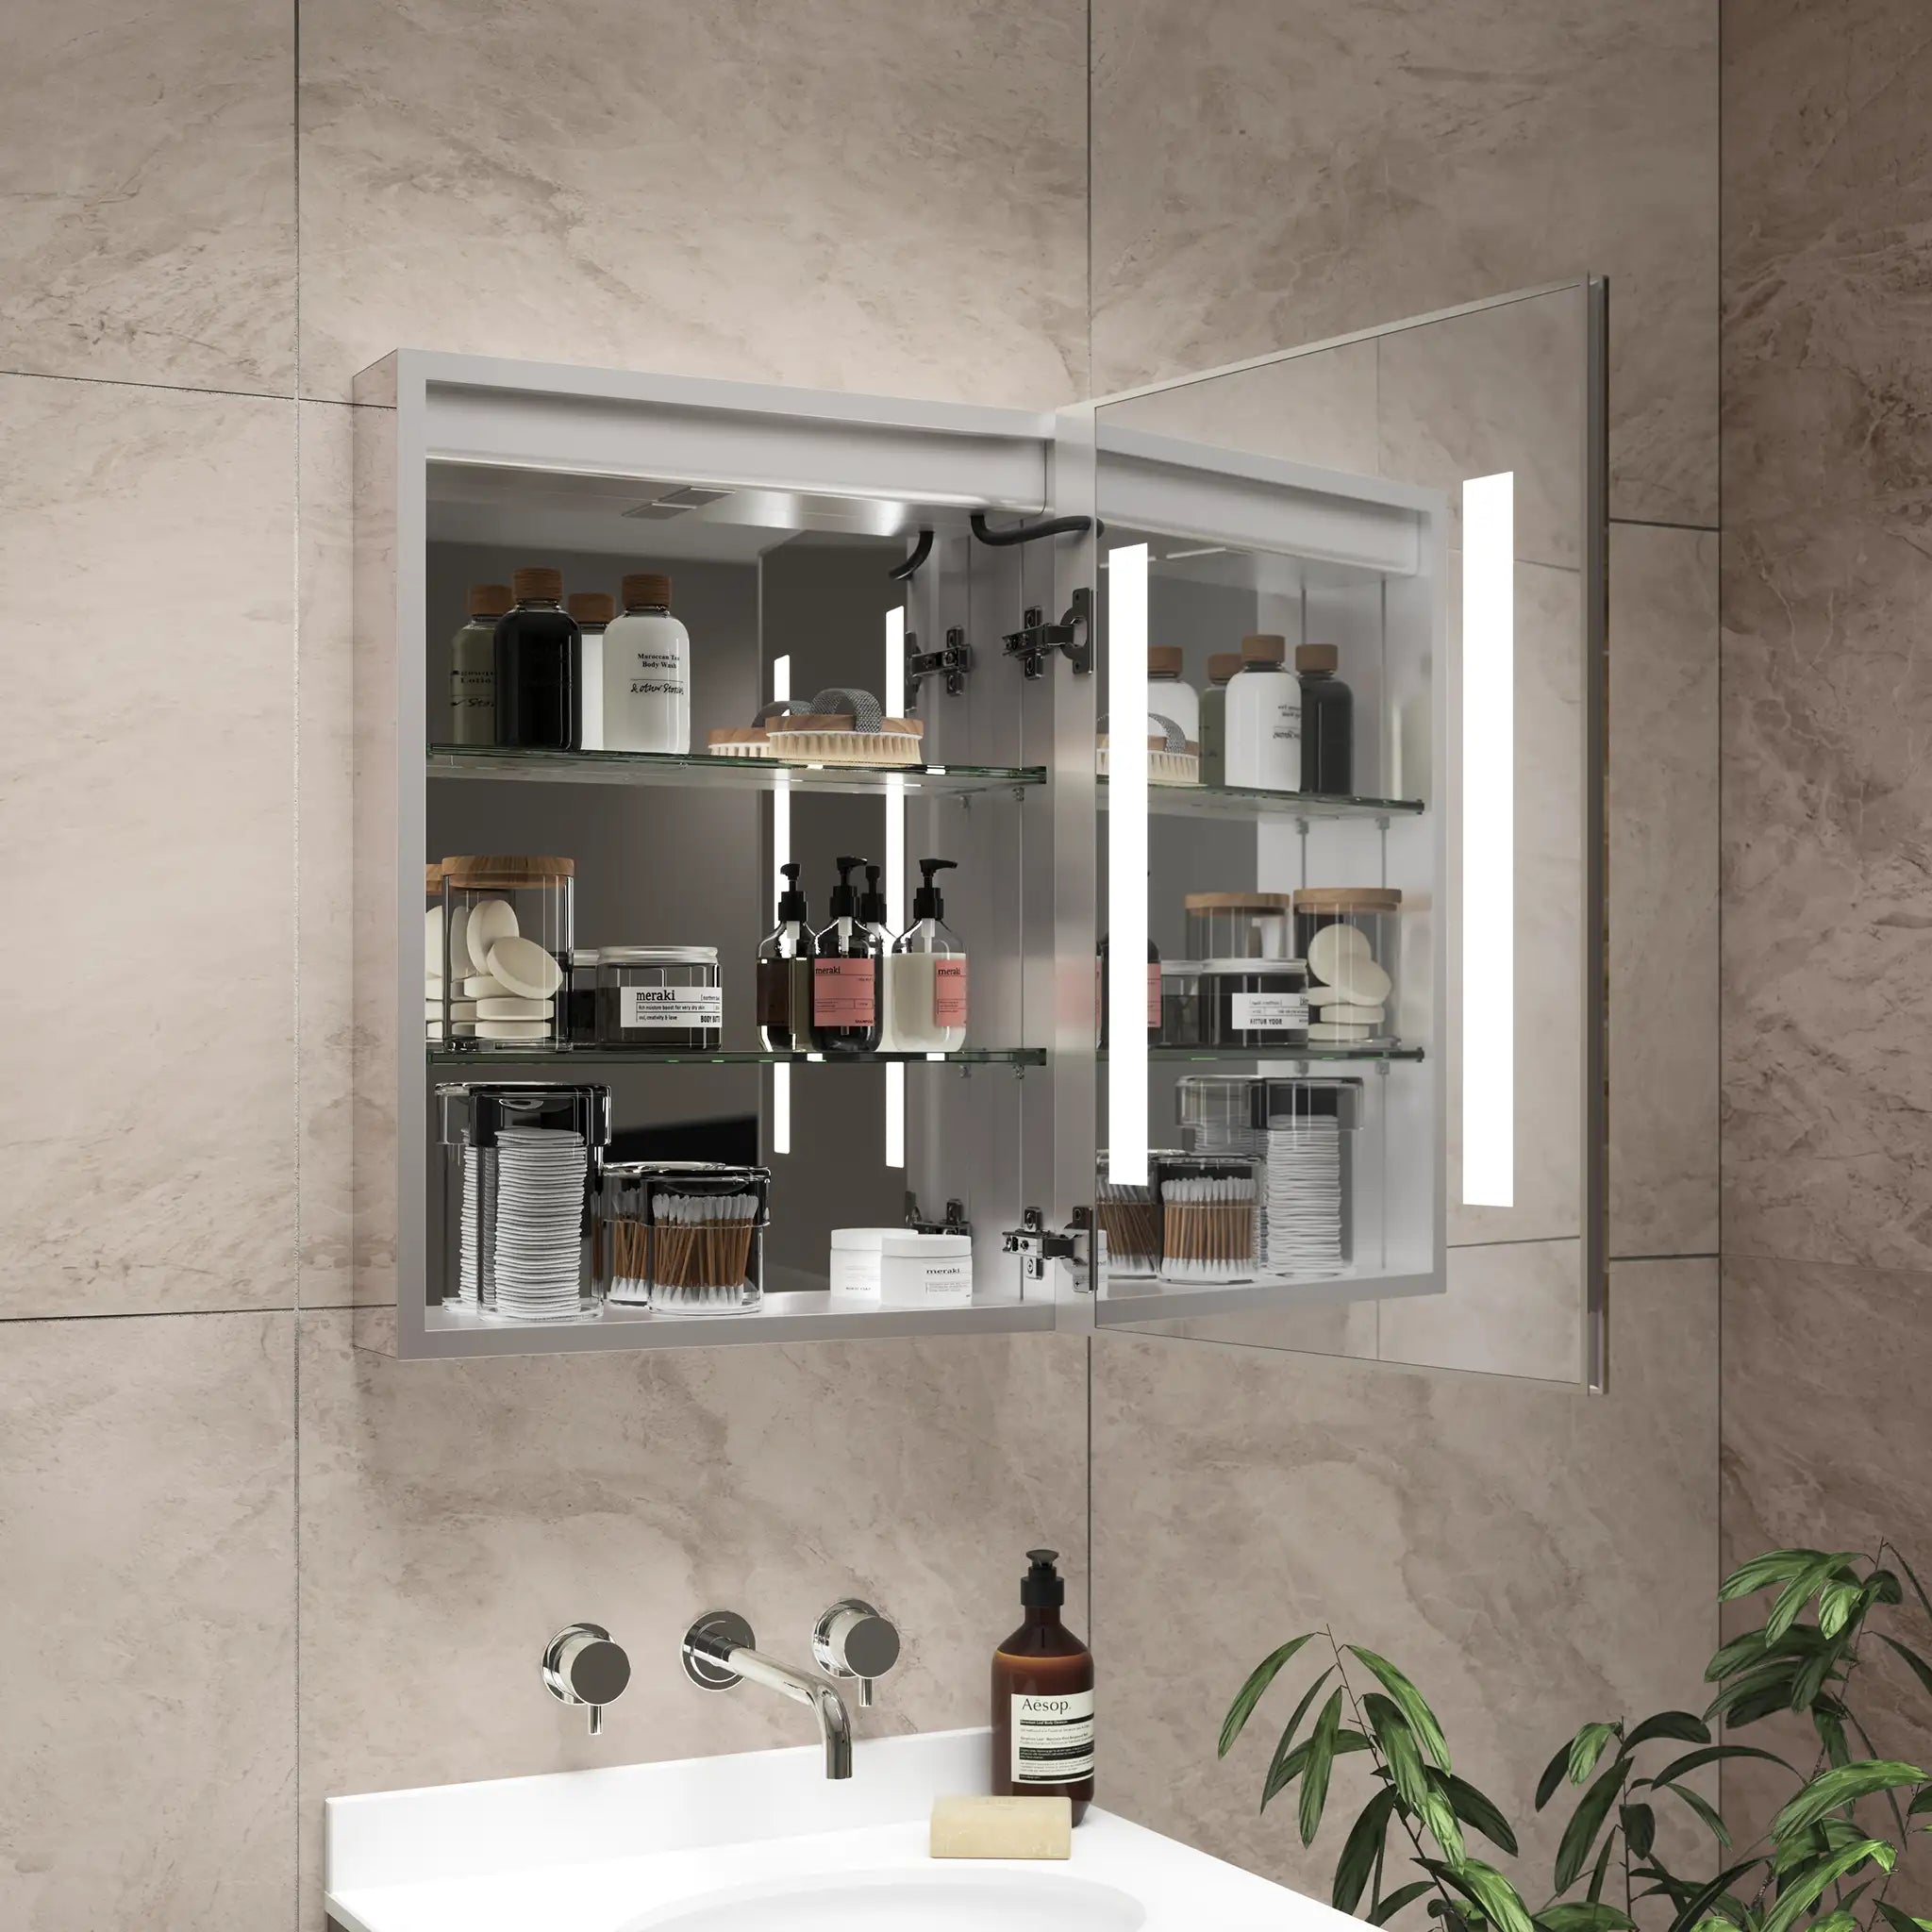
Cleaning inside a cabinet
The cabinet interior typically has glass shelves and a white or neutral interior finish. A dry cloth is sufficient for regular maintenance. Remove the glass shelves periodically to wipe behind them — the brackets and rear of the cabinet accumulate dust and product residue over time.
For the glass shelves themselves, the same rules apply as for the mirror face: no direct spray, clean with a damp cloth and buff dry.
The interior hinge mechanism can be wiped with a dry cloth. Do not apply lubricant sprays near the electrical wiring.
A few habits that genuinely help
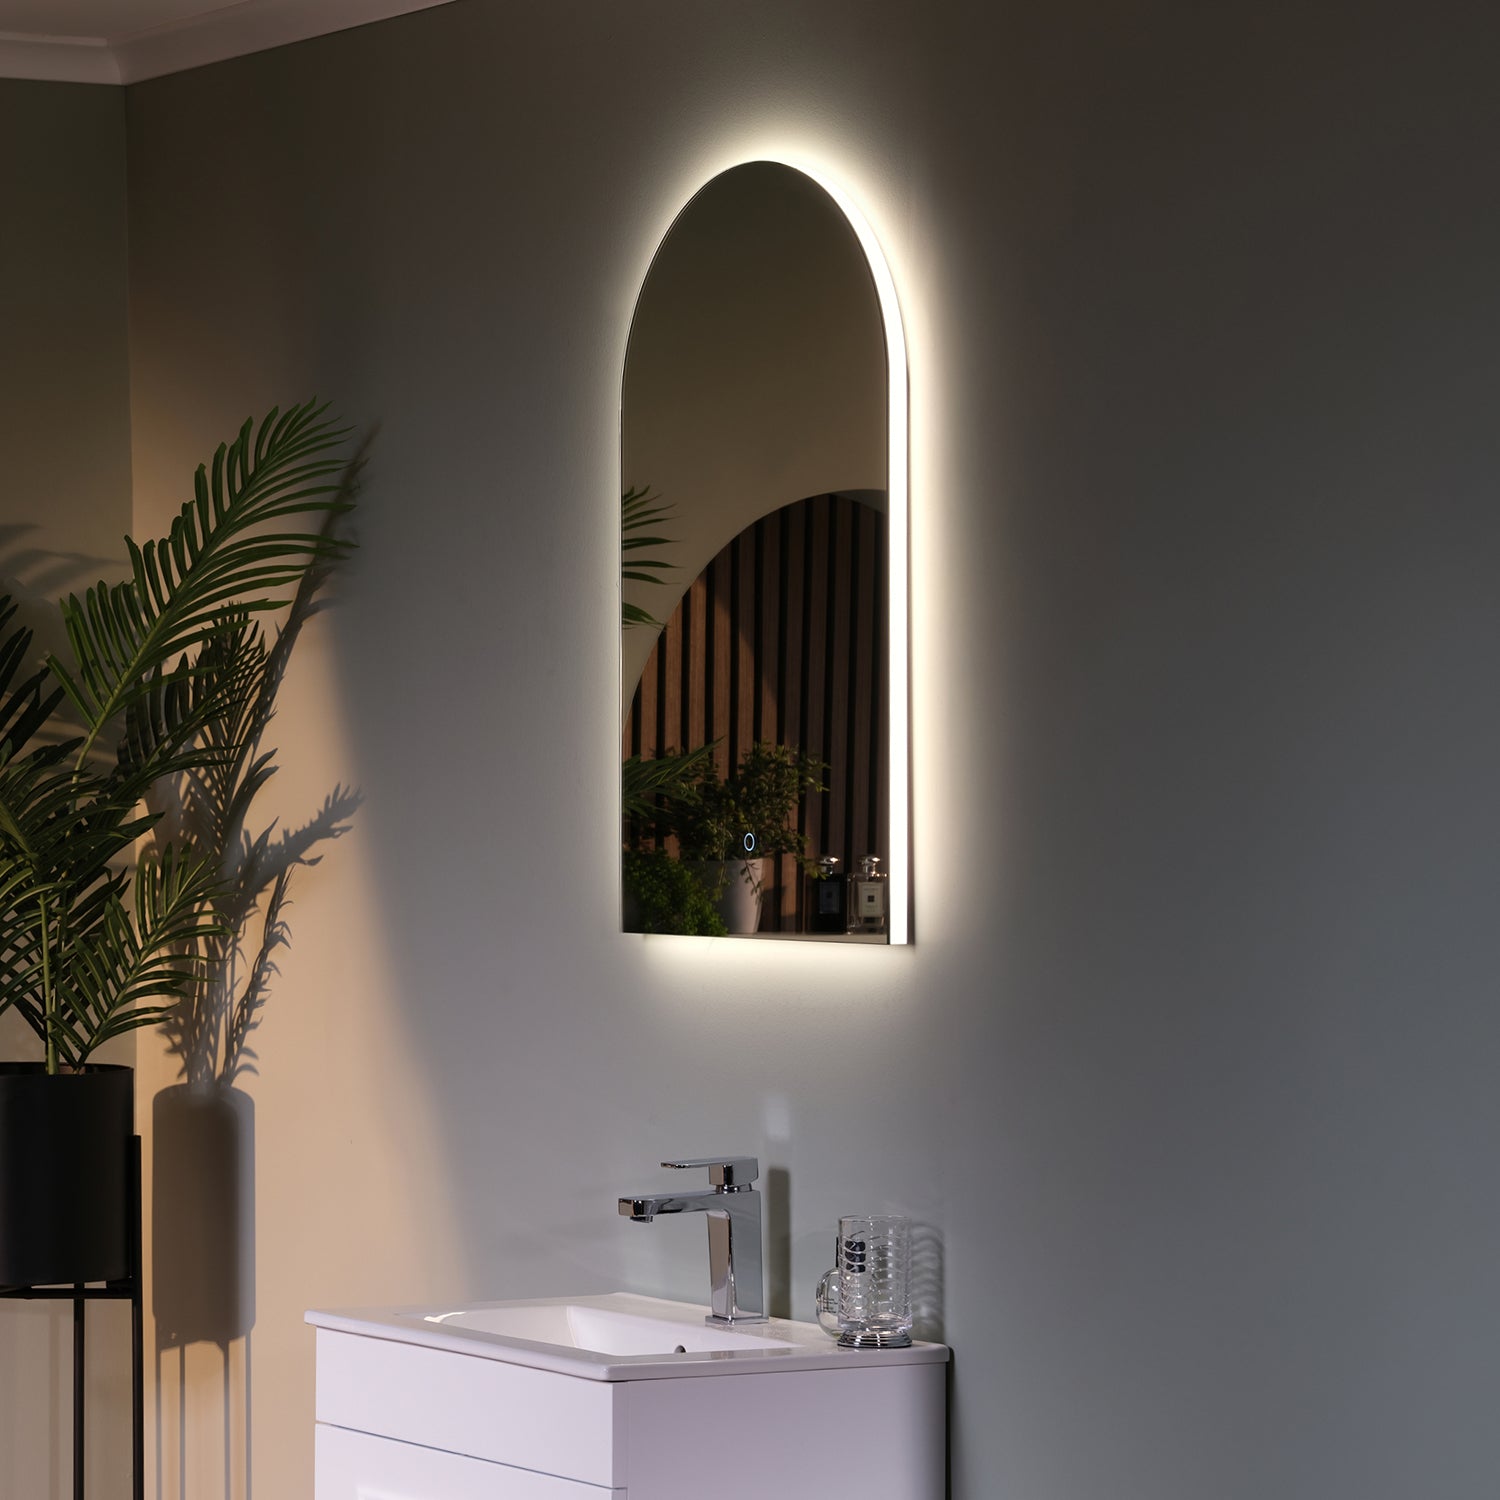
Run the demister before you shower, not after. The demister heats the mirror surface to prevent condensation building up in the first place. Switching it on once the bathroom is already full of steam means the glass needs to warm up against the steam rather than ahead of it. Two or three minutes before your shower makes a noticeable difference.
Use the extractor fan. This sounds obvious, but the single biggest factor in how well a bathroom mirror performs over time is ventilation. A bathroom with a working extractor fan has significantly less condensation and less moisture creeping into seals, frames, and electrical housings. If your bathroom fan is weak or old, replacing it is the highest-impact maintenance action you can take for every surface in the room, including your mirror.
Inspect the seal periodically. Run a finger around the edge where the mirror glass meets the frame once every few months. If you feel any looseness or notice any dark spots appearing at the glass edges, these are early signs of moisture ingress. Catching it early and resealing with a clear bathroom silicone sealant usually stops the problem before it progresses.
Clean the mirror face with the lights on. This sounds like a minor point, but seeing the streaks and marks clearly while you clean — rather than checking after in different lighting — means you clean it properly the first time.
What your guarantee covers and what it does not
The Pebble Grey 10-year extended guarantee covers manufacturing defects — faults in the product itself. It does not cover deterioration caused by cleaning with inappropriate products, moisture ingress through repeated direct spraying, or physical damage.
The practical upshot: cleaning your mirror correctly protects both the product and the guarantee. The instructions above are not complicated, but they are the difference between a mirror that looks as good at year eight as it did at year one, and one that does not.
Browse our full range of illuminated mirrors and cabinets at pebblegrey.co.uk — all covered by a free 10-year extended guarantee when you register within 30 days of purchase.